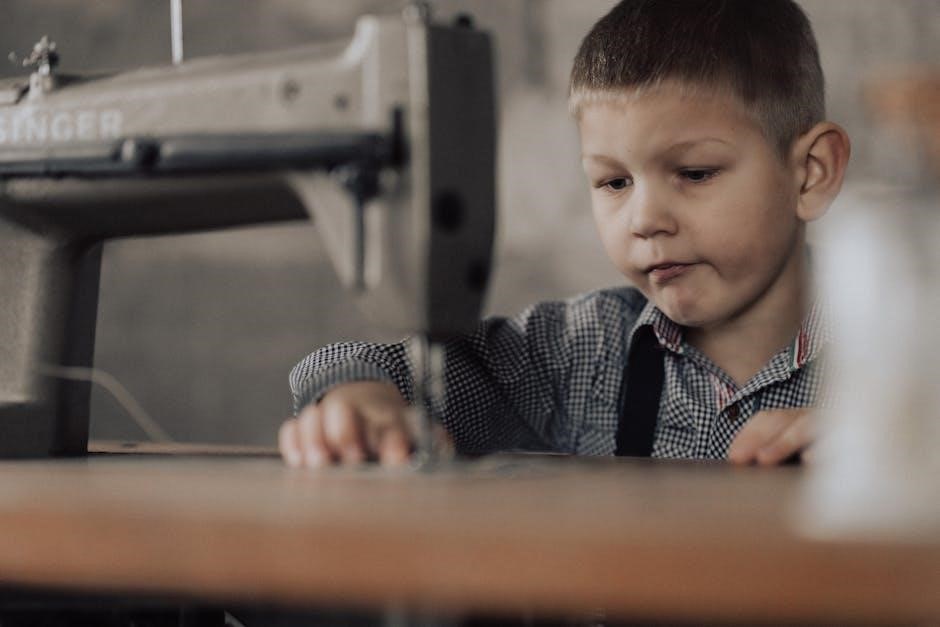
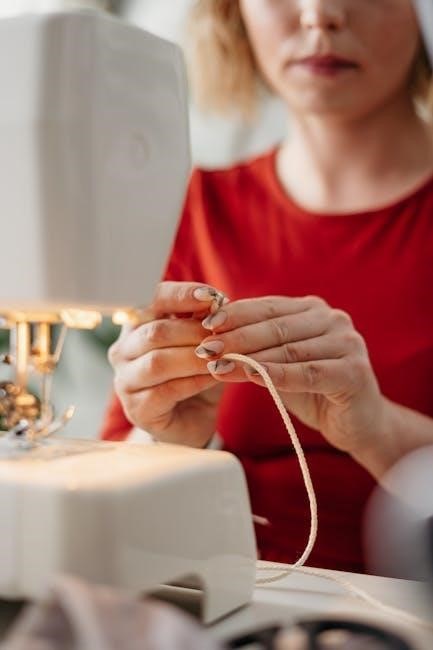
The mini sewing machine is a compact, portable tool designed for small-scale sewing projects. It’s ideal for beginners, offering ease of use and versatility for repairs, DIY crafts, or quick stitching tasks.
The mini sewing machine is a compact, lightweight, and user-friendly device designed for small-scale sewing projects. It is perfect for beginners, DIY enthusiasts, and those with limited workspace. Its portable design makes it easy to carry and store, while its basic stitching functions allow for quick repairs, crafting, and simple sewing tasks.
This machine is ideal for individuals who want to learn sewing without the complexity of a full-sized machine. It often comes with essential features like a built-in needle threader, automatic tension, and a few stitch options. The mini sewing machine is also a great option for people who need to sew occasionally or for small projects like hemming clothes, making accessories, or crafting.
Many users appreciate its ease of use and quiet operation, making it suitable for home, school, or travel. With its affordability and versatility, the mini sewing machine has become a popular choice for anyone looking to explore the world of sewing without committing to a large, expensive device.
Identifying the Parts of Your Mini Sewing Machine
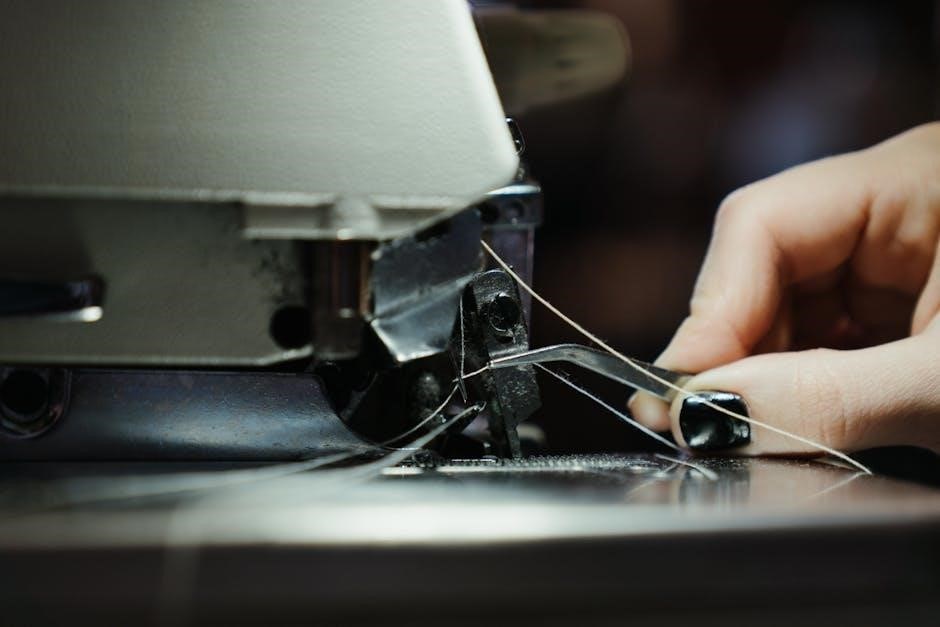
Your mini sewing machine consists of several essential components that are crucial for its operation. The power switch turns the machine on and off, while the foot pedal allows for hands-free control of the sewing speed. The spool pin holds the thread, and the tension dial adjusts the thread tightness. The needle is where the thread passes through to create stitches, and the bobbin holds the lower thread, which is essential for forming a proper stitch.
Other key parts include the stitch selector, which allows you to choose different stitch types, and the reverse stitch button, used to secure seams. The thread cutter is a handy feature for trimming excess thread, and the needle plate provides a smooth surface for fabric to glide over. Understanding each part is vital for proper setup and operation. Always refer to your user manual for specific diagrams and descriptions tailored to your machine model.
Familiarizing yourself with these components will help you use your mini sewing machine confidently and effectively.
Setting Up Your Mini Sewing Machine
Setting up your mini sewing machine is a straightforward process that ensures it’s ready for use. Begin by unpacking the machine and placing it on a stable, flat surface. Plug in the power cord and ensure the machine is turned off before proceeding. Locate the foot pedal and position it comfortably within reach.
Next, thread the machine by following the guide on the top. Insert the needle into the shaft, ensuring it’s securely fastened. Wind the bobbin with your chosen thread and insert it into the bobbin compartment. Thread the bobbin thread through its designated path, then pull gently to set the tension.
Test the machine by sewing on a scrap piece of fabric to ensure proper stitch formation. Adjust the tension dial if necessary to achieve even stitching. Always refer to the user manual for specific setup instructions, as slight variations may exist between models. Proper setup ensures smooth operation and optimal performance for your sewing projects.
Key Features of the Mini Sewing Machine
The mini sewing machine is equipped with a range of features that make it ideal for both beginners and experienced sewists. One of its standout features is its compact and lightweight design, allowing for easy portability and storage in small spaces. It offers a user-friendly interface with simple controls, making it easy to operate even for those new to sewing.
The machine typically includes multiple stitch options, such as straight stitch, zigzag stitch, and backstitch, enabling versatility in various sewing projects. Many models come with an automatic needle threader, which simplifies the threading process. Additionally, the machine often includes a built-in light to illuminate the work area, enhancing visibility while sewing.
Some models feature adjustable stitch length and width, providing more control over sewing results. The machine is also energy-efficient, operating on low power consumption while maintaining consistent performance. These features combine to make the mini sewing machine a practical and efficient tool for a wide range of sewing tasks.
Initial Setup and First-Time Use
Setting up your mini sewing machine for the first time is a straightforward process. Begin by carefully unpacking the machine and its accessories, such as the power cord, needles, and bobbins. Read the user manual thoroughly to understand the machine’s components and operation. Before use, ensure the machine is placed on a stable, flat surface and plugged into a nearby power source.
Next, wind the bobbin thread according to the manual’s instructions. Most machines include a bobbin winder, which simplifies this step. Thread the machine as directed, ensuring the thread passes through all specified guides and tension discs. Once threaded, insert the bobbin into the machine’s bobbin compartment and pull the thread gently to ensure proper alignment.
Before sewing, test the machine on a scrap piece of fabric to ensure it is functioning correctly. Adjust the stitch length and tension if necessary. Once everything is set, you’re ready to begin your first sewing project, starting with simple tasks like straight-line stitching or hemming.
Operation and Maintenance
Regular maintenance ensures optimal performance. Clean the machine after use, oil moving parts, and replace needles periodically. Proper threading and using the correct bobbins are essential for smooth operation and preventing damage.
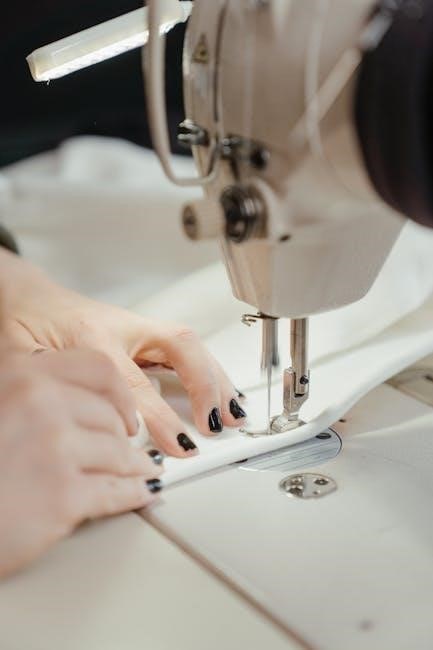
Basic Operations: Threading and Sewing
Mastering the basics of threading and sewing is essential for using your mini sewing machine effectively. Start by preparing the machine according to the user manual. Locate the spool pin and thread guide to properly insert the upper thread. Gently pull the thread through the tension discs and take it down to the needle, leaving a small loop for easy insertion. Next, wind the bobbin and insert it into the bobbin case, ensuring it’s securely seated. For sewing, place the fabric under the presser foot, aligning the edge with the guide. Gently press the pedal to start sewing at a steady pace. Use the reverse stitch lever to secure the beginning of your seam. Keep the fabric moving smoothly, and avoid pulling it tightly to maintain even stitches. Always test on scrap fabric first to ensure proper tension and stitch quality. These steps will help you achieve professional-looking results with your mini sewing machine.
Troubleshooting Common Issues
Troubleshooting your mini sewing machine can help resolve common issues quickly. If the thread breaks frequently, check for proper threading and ensure the tension is not too tight. Uneven stitches may indicate incorrect needle size or misaligned fabric. If the machine won’t turn on, verify the power supply and ensure the foot pedal is functioning. Jammed fabric can be resolved by gently lifting the presser foot and removing the fabric slowly. Bobbin issues often arise from incorrect winding; use the bobbin winder and ensure the thread is evenly distributed. If the needle breaks, replace it with a compatible one. Always refer to the user manual for specific guidance, as different models may vary. Regularly cleaning the machine and oiling moving parts can prevent many problems. By addressing these issues systematically, you can maintain smooth operation and extend the life of your mini sewing machine.
Maintenance Tips for Longevity
Regular maintenance is essential to ensure your mini sewing machine operates smoothly and lasts longer. Start by cleaning the machine frequently to remove lint, dust, and thread remnants, which can accumulate and cause mechanical issues. Use a soft brush or cloth to wipe down the exterior and internal components. Oil the moving parts as recommended in the user manual to keep the machine lubricated and running smoothly. Check the needle regularly and replace it if it becomes dull or bent, as a damaged needle can damage the machine or fabric. Store the machine in a dry, cool place to prevent rust and moisture buildup. Always use a dust cover when not in use to protect it from debris. Additionally, ensure the bobbin area is clean and free of thread scraps. Following these maintenance tips will help preserve the performance and extend the lifespan of your mini sewing machine.
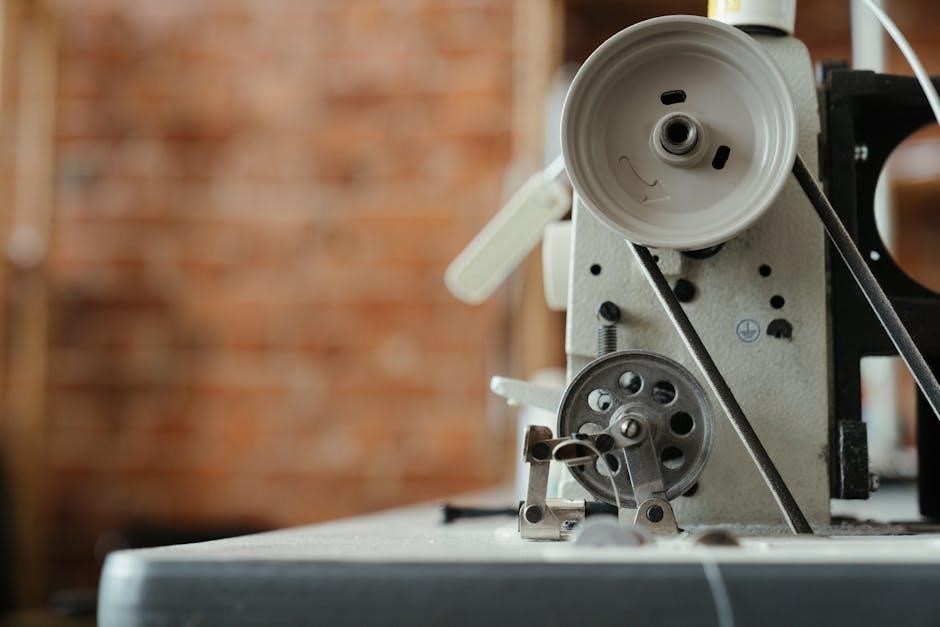
Advanced Features and Techniques
Mini sewing machines often include advanced features that enhance sewing efficiency and creativity. Adjustable stitch lengths and widths allow for precise control over sewing patterns. Dual-speed controls enable users to manage sewing speed, which is particularly useful for delicate fabrics or intricate designs. Some models come with programmable stitch patterns, enabling users to customize their sewing projects further. Additionally, features like automatic needle threading and one-step buttonhole settings simplify complex tasks, making them accessible even to beginners.
- Use the adjustable tension dial to ensure even stitching on various fabric types.
- Explore free-arm sewing for circular or hard-to-reach areas like cuffs or hems.
- Utilize the built-in LED light to illuminate your work area for better visibility.
- Experiment with specialized presser feet for zippers, embroidery, or quilting.
Advanced techniques include backstitching for secure seams, reverse sewing for reinforcing stitches, and using the machine’s auxiliary functions for decorative stitching. Always refer to the manual for specific instructions on accessing and utilizing these features effectively.
Project Ideas for Beginners
Starting with simple projects is the best way to familiarize yourself with your mini sewing machine. Begin with small tasks like hemming napkins or repairing torn seams. Sewing a coin purse is a great first project, requiring only basic straight stitching. Another idea is to create a drawstring bag, perfect for storing small items. For DIY enthusiasts, crafting reusable face masks is a practical and easy option. You can also make baby clothes, such as bibs or Onesies, which are simple and quick to sew.
- Try sewing a simple tote bag or pouch for everyday use.
- Make a set of coasters or a table runner for home decor.
- Practice stitching by creating a zipper pouch or a small makeup bag.
- Experiment with fabric scraps to create unique patches or appliques.
These projects help build confidence and skills, allowing you to gradually explore more complex sewing techniques. Always use the manual as a guide for troubleshooting and mastering new stitches.